- Home Page
- Kite Plans
- Rokkakus
Rokkaku-Kite Plans
For All the MBK Rokkakus
These rokkaku-kite plans and hints are aimed at summarizing the more in-depth instructions to be found in the How To Make A Kite section of this website.
For the rokkaku plans below, there are also a pair of plan-view photos.
The one on the left is of the front surface. That is, the side of the kite which faces the flier. The other photo is of the back surface, which exposes the spars.
For all three designs, attach flying line to the bridle with a shiftable knot for later trimming. Also, all three designs work well with light single-ply plastic for sail material. Many large plastic bags are suitable. Light Tyvek or ripstop nylon can also be used.
On this site, there's more kite-making info than you can poke a stick at. :-)
Want to know the most convenient way of using it all?
The Big MBK E-book Bundle is a collection of downloads—printable PDF files which provide step-by-step instructions for many kites large and small.
That's every kite in every MBK series.
Dowel Rokkaku-Kite Plans
Plan-View Photos
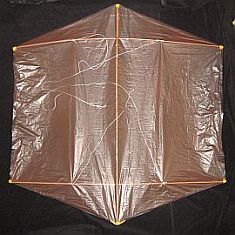 Front
Front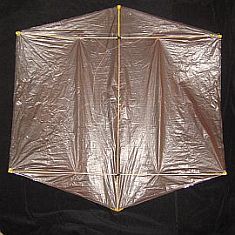 Back
Back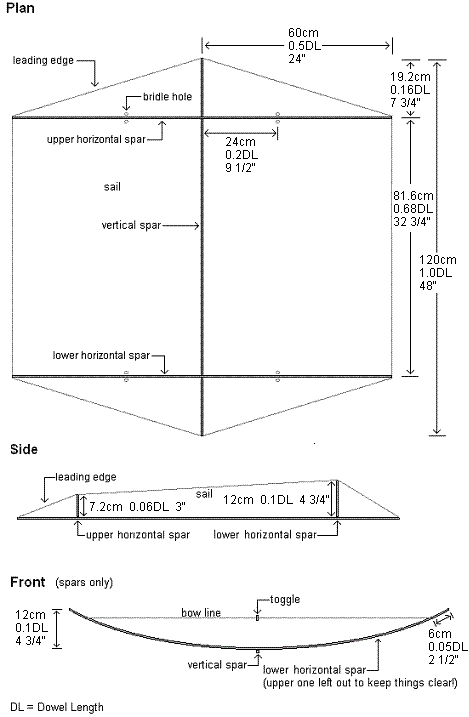
Tips and Hints
- Reinforce the sail edges by adding clear sticking tape over the outlines then trimming back to the outlines as you cut out the sail.
- Secure the sail to the spar ends using short lengths of electrical insulation tape, wrapped over the tips.
- Lash the spars together where they cross with whatever light cord you can find; use a drop of glue to secure if necessary.
- Make the upper and lower bridle loops about 3/4 as long as the kite is wide.
- At the bridle attachment points, a Single-Wrap Slip knot should be sufficient, secured with a spot of glue.
- Connect the two bridle loops with another line of similar length, using shiftable knots such as the Prusik. The kite can be trimmed left or right with the upper knot if necessary.
- No tail is required for this kite.
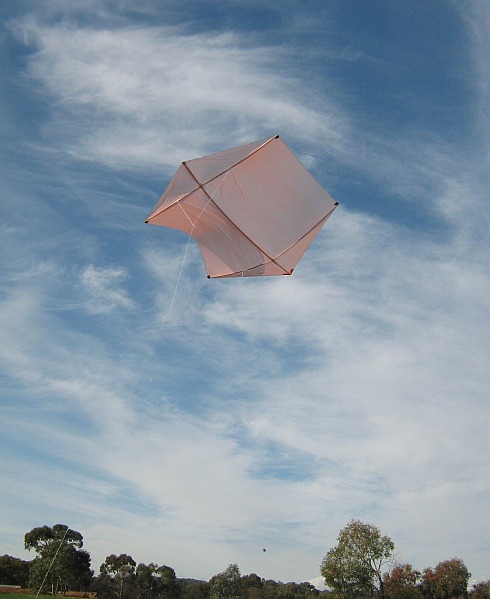 A very steady light-wind flier on its four-leg bridle
2-Skewer Rokkaku-Kite Plans
Plan-View Photos
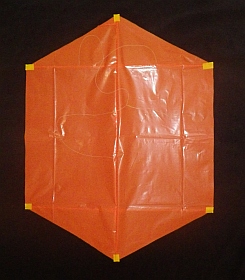 Front
Front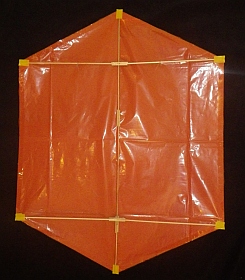 Back
Back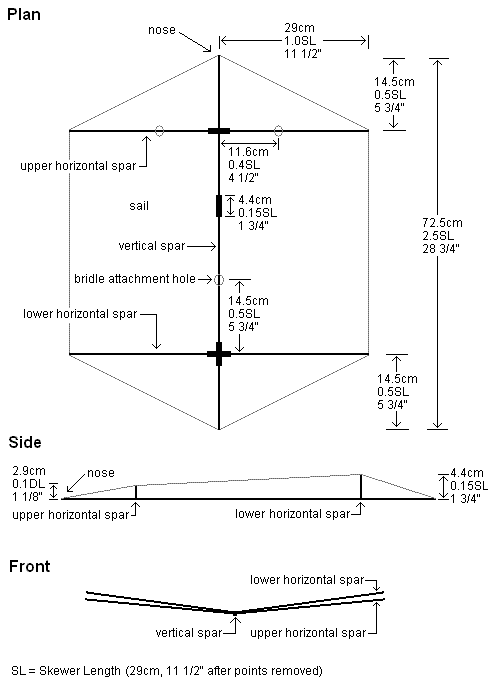
Tips and Hints
- Reinforce all the skewer joins with two lengths of skewer, 0.15 SL (4.4 cm, 1 3/4 in.) long, glued to both sides of the join as in the plan. While gluing the upper and lower spars with the tips raised off the table, the short reinforcers stay flat on the table.
- The upper horizontal spar tips should both be 0.10 SL (2.9 cm, 1 1/8 in.) off the table, while the lower spar tips should be 0.15 SL (4.4 cm, 1 3/4 in.) off the table.
- Reinforce the sail edges by adding clear sticking tape over the outlines then trimming back to the outlines as you cut out the sail.
- Secure the sail to the spar ends using short lengths of electrical insulation tape, wrapped over the tips.
- Try an upper bridle loop about as long as the kite is wide, attached where the sail holes are indicated near the top of the plan. Another line, about 3.0 SL (87 cm, 34 1/2 in.) long, goes from the middle of this loop down to the remaining sail hole.
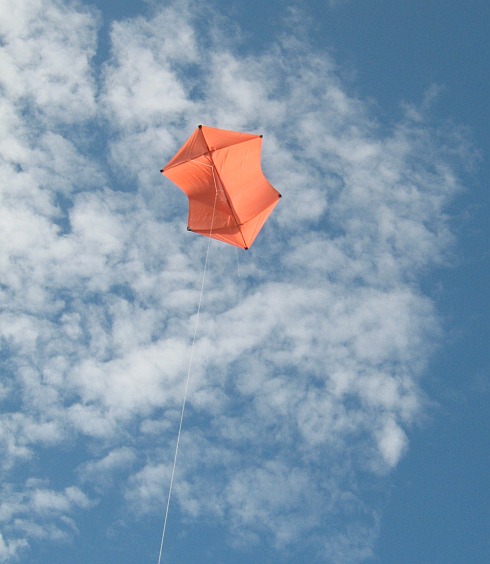 Best in light winds, but more like moderate here
1-Skewer Rokkaku-Kite Plans
Plan-View Photos
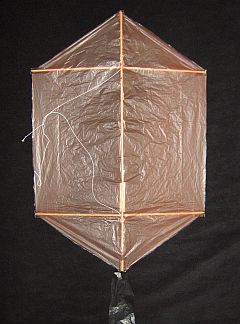 Front
Front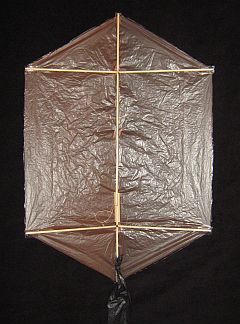 Back
Back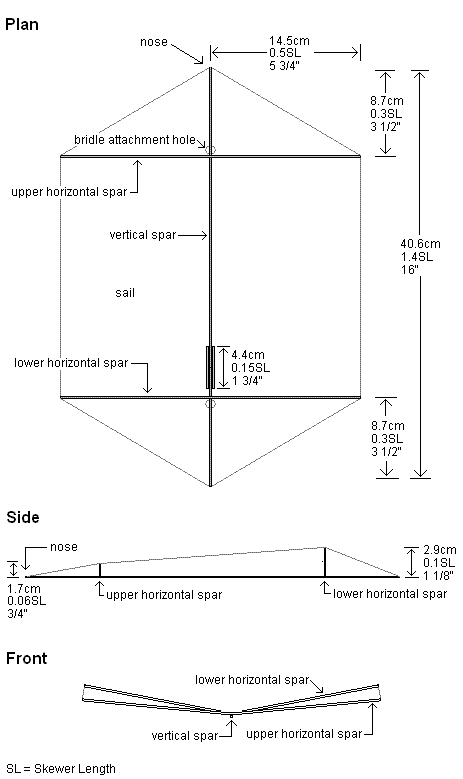
Tips and Hints
- Reinforce the vertical skewer join with two lengths of skewer, glued to both sides of the join as in the plan.
- Secure the sail to the spar ends using short lengths of clear sticking tape.
- A two-leg bridle works well, two skewer-lengths long and attached where indicated on the plan.
- For a start, try using a simple streamer tail about eight times as long as the kite is high. Add more to let the kite fly in stronger winds.
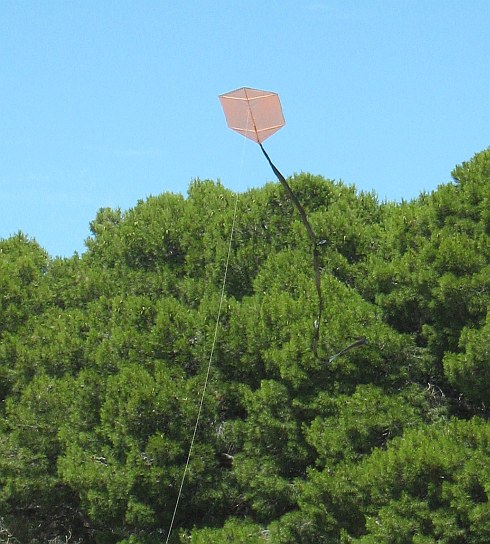 Very nontraditional little Rok—but fun!
Out in the Field
Rokkaku-kite stories of my real-life flying experiences are worth checking out!
Illustrated with photos and videos, of course.
I hope one of these rokkaku-kite plans is just right for you!
As mentioned earlier, there's more kite making on this site than you can poke a stick at. :-)
Want to know the most convenient way of using it all?
The Big MBK E-book Bundle is a collection of downloads—printable PDF files which provide step-by-step instructions for many kites large and small.
That's every kite in every MBK series.
