- Home Page
- Paper Kites
- ... Sled Kite
How to Make a Paper Sled Kite
Step by Step—Page 2 of 2
The MBK Paper Sled
Attaching Spars to Sail
Draw First Guide Line
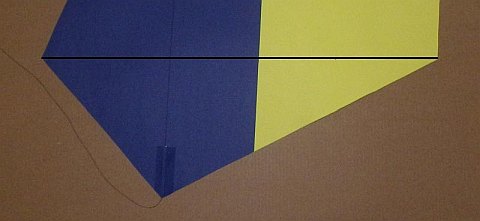 First guide line drawn
- Lay down the sail so the edge taping is against the floor. On one side of the sail, draw a straight line from the top corner (photo left) to the bottom corner (photo right) as shown. Be careful not to run over the thread!
Note: The line in the photo has been enhanced since it was hard to see against the blue.
Draw Second Guide Line
 Both guide lines drawn
- Near each end of the first line, make a dot 9 mm (3/8 in.) from the line, toward the middle of the sail.
- Draw through the dots to create another line as in the photo. If you look closely, you should be able to see both lines over the blue portion going right to the edge.
Tape Outside Edge
 One edge taped
- Take one of the paper rectangles, and lay it down, aligned with the first guide line. The taped side should be facing down.
- Tack in place with squares of sticking tape—one in the middle and one near each end.
- All good? Now lay a strip of tape down the whole length as indicated by the yellow rectangle in the photo.
- Trim off excess bits of tape with scissors.
Tape Inside Edge
 Edge tacked at one end
- Flip the paper rectangle across and flatten it down so the second guide line becomes visible.
- Go to one end, and pull the free edge of the rectangle across so it lines up with the guide line. Tack it down with a short strip of tape as indicated in yellow in the photo. See how the second guide line is just visible toward the right in the photo.
 Edge tacked all along
- Go to the other end of the rectangle, and tack it down also in the same way as before.
- Go to the middle, and tack it down.
- Also tack down the two remaining gaps until it looks like the photo with five pieces of tape.
 Edge fully taped down
- Finally, lay a piece of sticking tape along the whole length, and trim off excess bits with scissors as before.
- Also, trim the top of the spar so it lines up with the edge of the sail as can be seen at the far left in the photo.
Shape the Spar
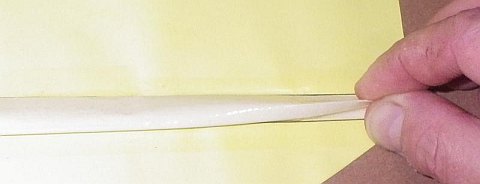 Pinching started at one end
- Go to one end of the spar, and carefully pinch it between finger and thumb as in the photo. The aim is to get a crease right in the middle.
Note: The spar won't crease sharp because of all the sticky tape, but pinch firmly anyway.
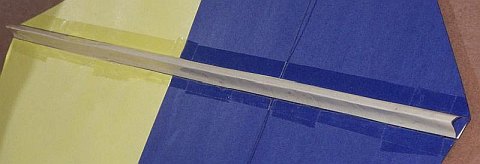 V shape formed all the way along
- Work your way along the spar, pinching tightly all the way. I like to use both hands at once, close together.
- Go all the way along and then back again so nothing is missed. You have created a spar that is stiff enough to do the job required of it! See the photo.
Do the Other Spar
 Second set of guide lines drawn
- Draw lines on the sail where the other spar will go, like a mirror image of the first two lines. See the photo.
Like to see a video clip? Just scroll down to near the end of this page.
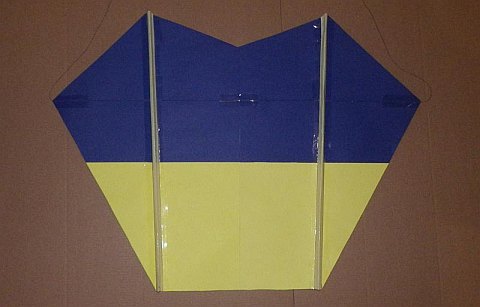 Second spar taped and shaped
- Take the remaining rectangle, and tape it down as done for the first one. When taped on one side, it should flap toward the middle of the sail like the other one did.
- Complete all the tacking and taping, then shape the rectangle into a V-shaped spar just like the first one. There they both are in the photo.
The Tail
Start With Two Sheets
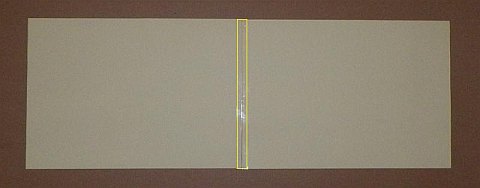 Two sheets of paper taped together
- Line up the short edges of two sheets of paper, and tack together with a short length of sticking tape.
- Tape along the join over the full width of the paper. See the photo.
- Flip the sheets, and tape over the join again.
Measure and Mark
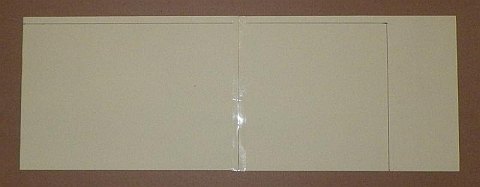 Tail area measured and drawn
- Measure a width of 20 cm (8 in.) and a length of 50 cm (20 in.), marking dots on the paper.
- With pencil and ruler, mark out the tail area as in the photo.
Note: The paper areas outside the marked lines will look a little different if you are using Letter-size paper. But it's the marked rectangle you will be using!
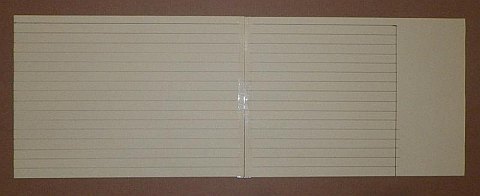 Tail ribbons marked out
- Across the width of the paper (up/down in the photo) mark dots at intervals of 12.5 mm (1/2 in.). Repeat at the other end and also in the middle, if necessary, so lines can be drawn the full length of the tail.
- Rule straight lines through the dots. See the photo.
- There should be 16 tail ribbons marked out.
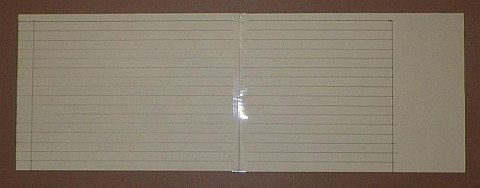 Line drawn across ribbons
Measure and draw a line across the ribbons, 2 cm (1 in.) from the short edge of the paper—at far left in the photo.
Cut to Create Ribbons
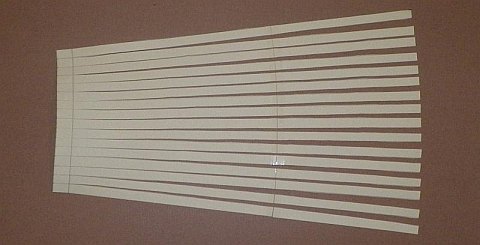 Tail cut out, with ribbons
- With scissors, cut out the tail area.
- Then cut the ribbons—all the way up to the line going across. See the photo.
Attach to Sail
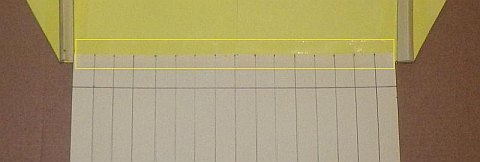 Tail taped to rear side of sail
- Lay the sail down flat, with the edging tape facing downward.
- Lay the uncut end of the tail over the sail's trailing edge, overlapping by about 0.5 cm (1/4 in.). Tack in place with two short bits of tape.
- Place a strip of sticking tape all the way across as indicated by the yellow rectangle in the photo.
 Tail taped on front side of sail
- Flip the kite over, and again apply sticking tape all the way across. See the photo.
- That's it. You're done!
Flying!
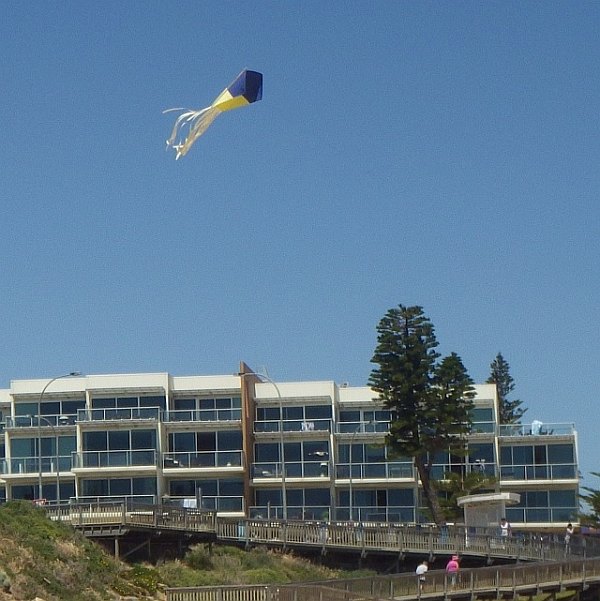 Nothing to it—attach line, catch breeze
After taking the kite to a flying field, your flying line can be tied right behind the Multi-Strand Double knot, wrapped around both bridle lines. That's it, you're ready to fly.
Avoid flying in very windy weather. The thread should be good to around 30 kph, but there are no guarantees beyond that.
Trimming
If kite and bridle have been made perfectly, any bobbing to the left and right should be about the same in both directions. Otherwise, you need to shorten one of the bridle lines slightly, on the side to which the kite leans most. Just gather in a few millimeters and fix it there by retying the bridle knot a bit closer to the kite.
I hope you enjoyed learning how to make the MBK Paper
Sled design!
As mentioned earlier, there's more kite making on this site than you can poke a stick at. :-)
Want to know the most convenient way of using it all?
The Big MBK E-book Bundle is a collection of downloads—printable PDF files which provide step-by-step instructions for many kites large and small.
That's every kite in every MBK series.
