- Home Page
- Kite Plans
- Doperos
Dopero-Kite Plans
For the MBK Dopero Kites
These dopero-kite plans and hints are aimed at summarizing the more in-depth instructions to be found in the How To Make A Kite section of this website.
For each of the dopero plans below, there are also a pair of plan-view photos.
The one on the left is of the front surface. That is, the side of the kite which faces the flier. The other photo is of the back surface, which exposes the spars.
For all three designs, attach flying line to the bridle with a shiftable knot for later trimming. Also, all three designs work well with light single-ply plastic for sail material. Many large plastic bags are suitable.
On this site, there's more kite-making info than you can poke a stick at. :-)
Want to know the most convenient way of using it all?
The Big MBK E-book Bundle is a collection of downloads—printable PDF files which provide step-by-step instructions for many kites large and small.
That's every kite in every MBK series.
Dowel Dopero-Kite Plans
Plan-View Photos
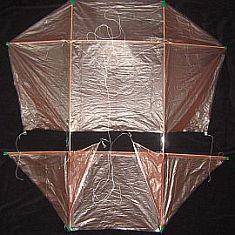 Front
Front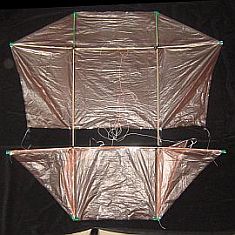 Back
Back
Tips and Hints
- Work with one Dowel Length equal to either 120 cm of 5 mm dowel, or 48 in. of 3/16 in. dowel.
- Reinforce the sail edges by adding clear sticking tape over the outlines then trimming back to the outlines as you cut out the sail. To save weight, don't reinforce the trailing edge of the upper sail or the leading edge of the lower sail.
- Secure the sail to the spar ends using short lengths of electrical insulation tape.
- Wrap several small pieces of clear sticking tape around the lower horizontal spar and onto the lower sail to secure it along the leading edge. Or you can add a tab to the sail outline so you can fold it over the spar and tape down.
- Run a length of sticking tape the full length of the upper sail, directly under where the vertical spars touch the sail. This helps prevent stretch.
- Reinforce the upper sail corners where the ties are attached. I used short pieces of sticking tape, stuck to each other where they leave the plastic.
- Make a bridle loop of length 1.0 DL (120 cm, 48 in.), going to each side of the upper horizontal spar.
- Make another bridle loop of length 1.0 DL (120 cm, 48 in.), and Lark's Head the ends to the keels.
- Run a 2.0 DL (240 cm, 96 in.) bridle line from the center of the upper bridle loop to the center of the lower bridle loop.
- You might find stability to be marginal in all but fairly light conditions. To extend the wind range, try adding weight to the trailing edge of the keels. I managed to avoid this by putting the heavier ends of the vertical spars to the rear, and also using the heaviest horizontal spar as the lower one.
The photo below shows the MBK Dowel Dopero on one of its first flights. That was before I got around to pulling some of the slack out of those sail-corner ties!
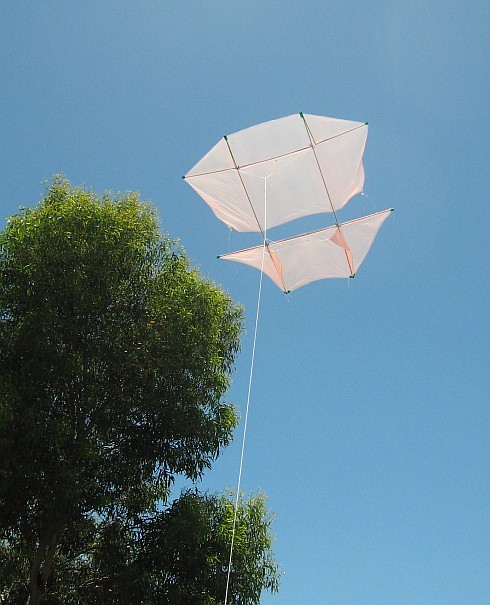 Efficient and steady, thanks to flat panels and four-leg bridle
2-Skewer Dopero-Kite Plans
Plan-View Photos
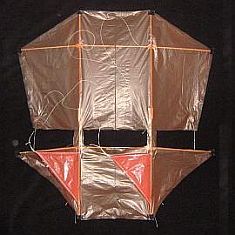 Front
Front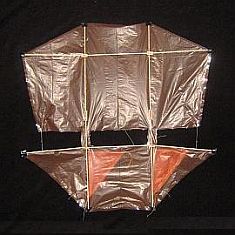 Back
Back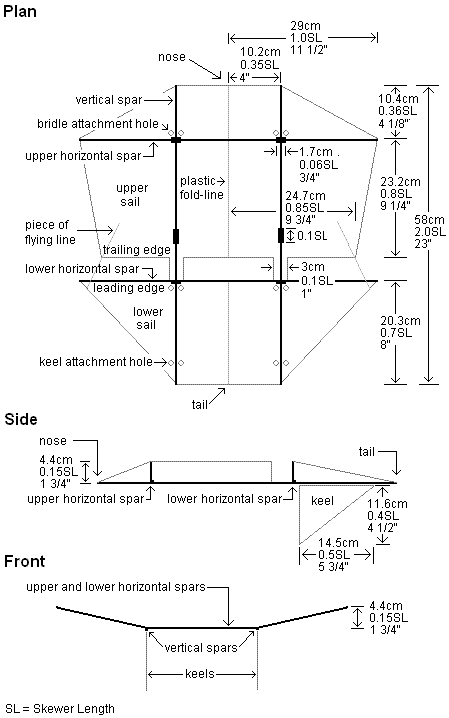
Tips and Hints
- To glue the short bamboo reinforcers, just lay glue down the join on one side. For the horizontal spars, the short reinforcers stay flat on the table while the glue is drying.
- Reinforce the sail edges by adding clear sticking tape over the outlines then trimming back to the outlines as you cut out the sail. To save weight, don't reinforce the trailing edge of the upper sail or the leading edge of the lower sail.
- Secure the sail corners to the spar ends using short lengths of electrical insulation tape.
- Use five small pieces of clear sticking tape to secure the leading edge of the lower sail to the lower horizontal spar.
- Tie a 2.0 SL (58 cm, 23 in.) bridle loop between the two attachment points near the upper spar, and tie another slightly shorter bridle loop between the tips of the two keels.
- Try a 3.0 SL (87 cm, 35 in.) central bridle line, tied between the two bridle loops.
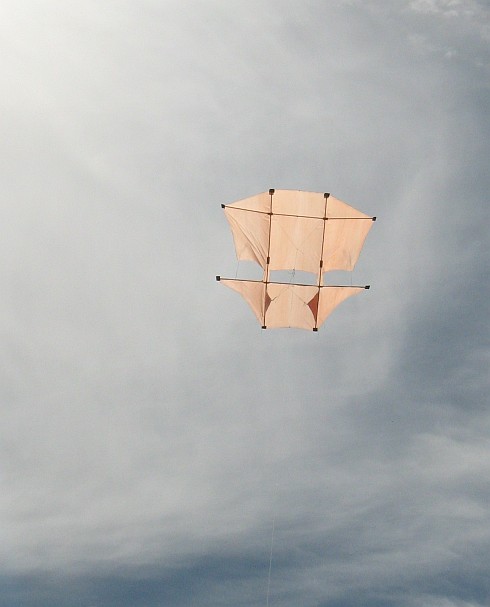 This stayed up while all the festival kites had come down
1-Skewer Dopero-Kite Plans
Plan-View Photos
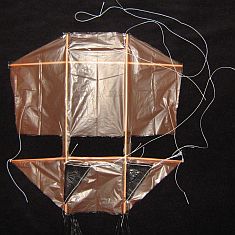 Front
Front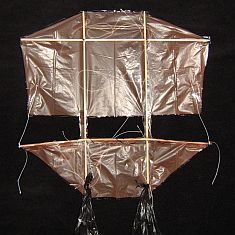 Back
Back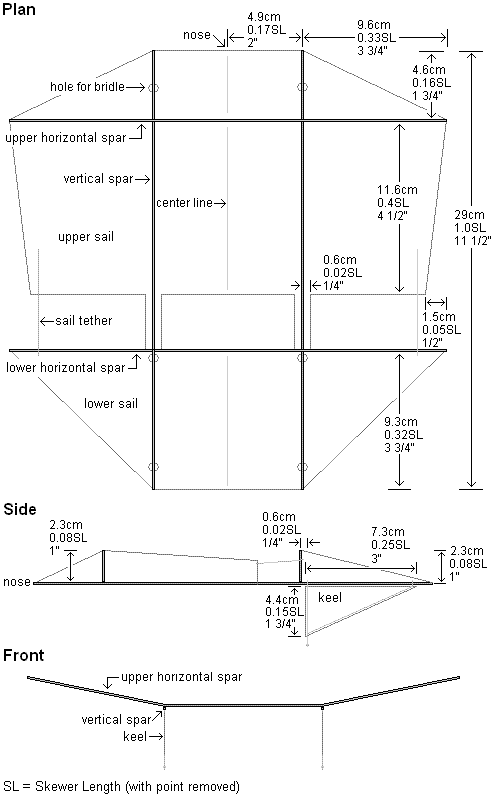
Tips and Hints
- Secure the sail to the spar ends using short lengths of clear sticking tape.
- Include tabs along the leading edges of the lower sail. On each side, fold the tab over the spar, and stick down using short lengths of clear tape.
- A four-leg bridle works well, with the upper two legs attached between the upper leading edge and the upper horizontal spar.
- The 1-Skewer Dopero requires a tail. Start with a tail about eight times as long as the kite itself, looped between the vertical spars.
 Miniature dopero—toy-like but it flies really well
Out in the Field
Dopero-kite stories of my real-life flying experiences are worth checking out!
Illustrated with photos and videos, of course.
I hope one of these dopero-kite plans is just right for you!
As mentioned earlier, there's more kite making on this site than you can poke a stick at. :-)
Want to know the most convenient way of using it all?
The Big MBK E-book Bundle is a collection of downloads—printable PDF files which provide step-by-step instructions for many kites large and small.
That's every kite in every MBK series.
