- Home Page
- Kite Plans
- Deltas
Delta-Kite Plans
For All the MBK Delta Kites
These delta-kite plans and hints are aimed at summarizing the more in-depth instructions to be found in the How To Make A Kite section of this website.
For each of the delta plans below, there are also a pair of plan-view photos.
The one on the left is of the front surface. That is, the surface of the flying kite which faces the flier. The other photo is of the back surface, which exposes the spars.
All three designs work well with light single-ply plastic for sail material. Many types of large plastic bags are suitable. And of course you can substitute the lightest Tyvek or ripstop nylon material.
On this site, there's more kite-making info than you can poke a stick at. :-)
Want to know the most convenient way of using it all?
The Big MBK E-book Bundle is a collection of downloads—printable PDF files which provide step-by-step instructions for many kites large and small.
That's every kite in every MBK series.
Dowel Delta-Kite Plans
Plan-View Photos
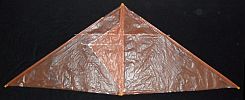 Front
Front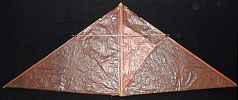 Back
Back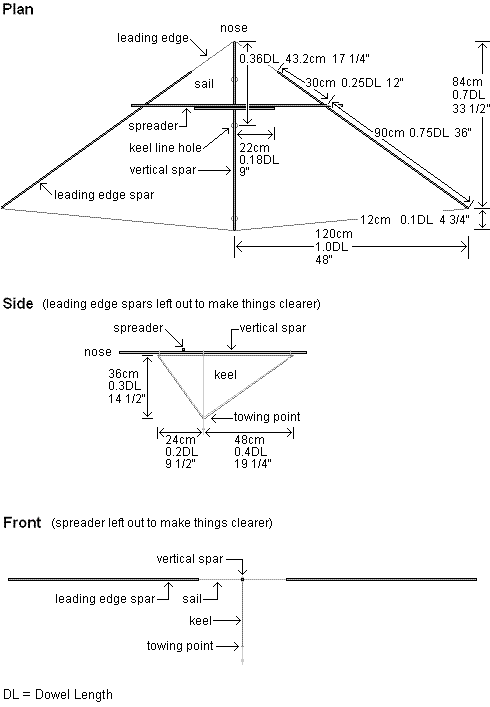
Tips and Hints
- Because of the size, you might find it necessary to use two plastic bags for the sail—one for the left wing and one for the right. Overlap them down the centerline as you can see in the photos below. Tape the full length of both edges with clear sticking tape.
- For the spars, use hardwood dowel of 5 mm (3/16 in) diameter.
- The spreader and its shorter reinforcement dowel are also 5 mm. Secure these two dowels together with three wraps of sticking tape at five points—including the extreme ends of the shorter dowel.
- When cutting out the sail, include a long, narrow flap to fold over each leading edge spar to completely enclose it in a pocket.
- Reinforce the edges of the sail by adding clear sticking tape flush with the outline.
- Lash and glue the spreader tips to the leading edge. The glue is necessary to prevent slippage.
- Cap the spar ends with electrical insulation tape.
- Seal the leading edge spar pockets with long lengths of clear sticking tape.
- After cutting out the keel from sail plastic, use clear sticking tape to run a length of flying line down from all three attachment points down to the towing point. There's one line on each side of the keel, so that's six pieces of line altogether.
- Knot the keel lines together, close to the plastic, and add another
knot to the six lines coming out at the towing point. Tie the keel to the
vertical spar, and also use sticking tape to attach the keel's edge to the
sail.
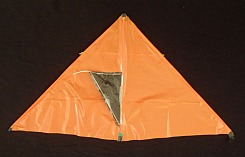
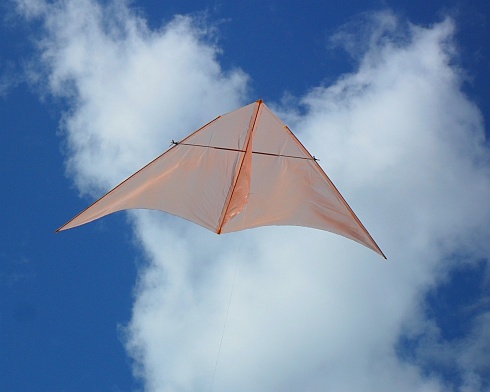 Posing for photos while floating on a short line
2-Skewer Delta-Kite Plans
Plan-View Photos
 Front
Front Back
Back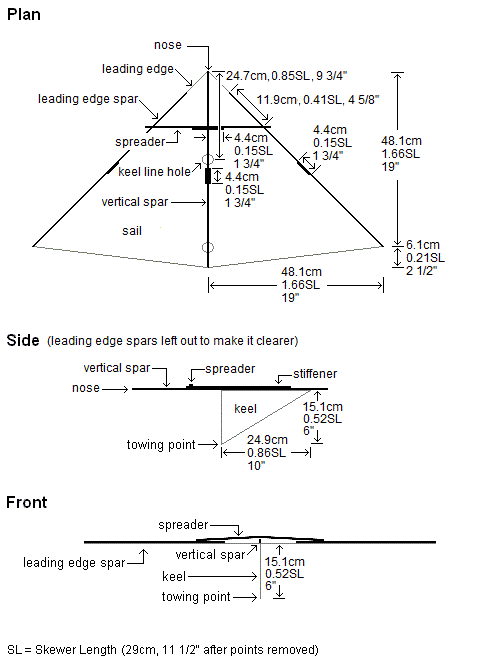
Tips and Hints
- Each spar, including the spreader, is two bamboo skewers butted together and reinforced with short lengths of skewer glued on as shown.
- When cutting out the sail, include a long, narrow flap to fold over each leading edge spar to completely enclose it in a sleeve. Make cutouts for the ends of the spreader.
- Reinforce all edges of the sail (except the long edges of the tabs) by adding clear sticking tape over the outlines then trimming back to the outlines.
- The spreader should be glued and tied in place where it crosses the leading edges. Then the bamboo can be trimmed to length, with a small overhang.
- Cap the spar ends with short lengths of electrical insulation tape.
- Seal the leading edge spar pockets with long lengths of clear sticking tape.
- After cutting out the keel from sail plastic, use clear sticking tape to run a length of flying line down each edge that leads to the towing point. Do each side of the keel, so that's four pieces of line altogether.
- Knot the keel lines together, close to the plastic, and add another knot to the four lines coming out at the towing point. Tie the keel to the vertical spar, and also use sticking tape to attach the keel's edge to the sail.
- No tail is necessary for this design even near the top of its wind range.
 Light breeze flying—but bamboo bends to cope with stronger breezes
1-Skewer Delta-Kite Plans
Plan-View Photos
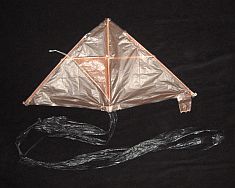 Front
Front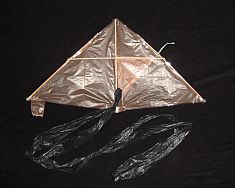 Back
Back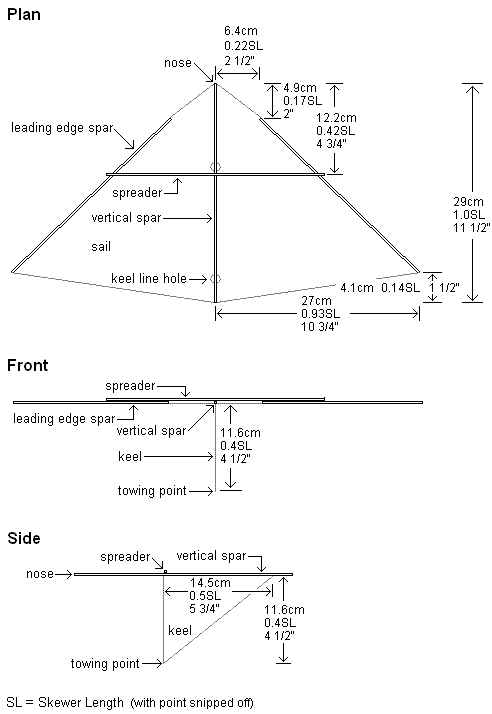
Tips and Hints
- When cutting out the sail, include a long, narrow flap to fold over each leading edge spar to completely enclose it in a pocket.
- Glue the spreader to the leading edge spars but not to the vertical spar.
- Cap the spar ends with clear sticking tape.
- Seal the leading edge spar pockets with long lengths of clear sticking tape.
- After cutting out the keel from sail plastic, use clear sticking tape to run a length of flying line down each edge that leads to the towing point. Do each side of the keel, so that's four pieces of line altogether.
- Knot the keel lines together, close to the plastic, and add a another knot to the four lines coming out at the towing point. Tie the keel to the vertical spar, and also use sticking tape to attach the keel's edge to the sail.
- For a start, try making a single tail about five times as long as the kite itself, looping it around the bamboo and tying it off near the tail of the kite.
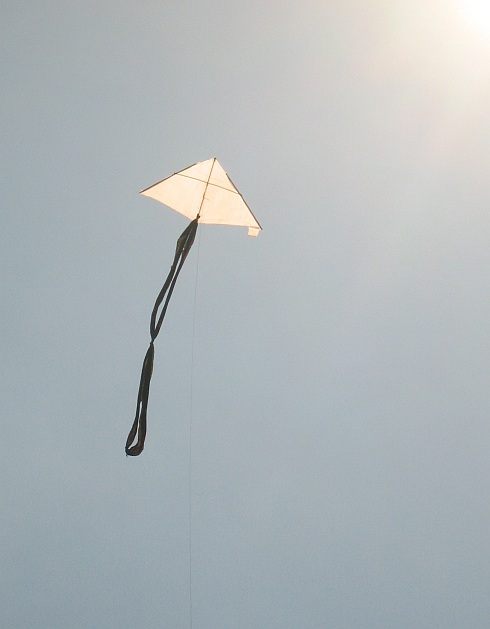 A bit of plastic behind one wingtip corrects a tendency to turn left
Out in the Field
Delta-kite stories of my real-life flying experiences are worth checking out!
Illustrated with photos and videos, of course.
I hope one of these delta kite plans is just right for you!
As mentioned earlier, there's more kite making on this site than you can poke a stick at. :-)
Want to know the most convenient way of using it all?
The Big MBK E-book Bundle is a collection of downloads—printable PDF files which provide step-by-step instructions for many kites large and small.
That's every kite in every MBK series.
