- Home Page
- Kite Plans
- Sleds
Sled-Kite Plans
For All the MBK Sleds
These sled-kite plans and hints are aimed at summarizing the more in-depth instructions to be found in the How To Make A Kite section of this website.
For each of the sled plans below, there are also a pair of plan-view photos.
The one on the left is of the front surface. That is, the surface of the flying kite which faces the flyer.
The other photo is of the back surface, which exposes the spars.
On this site, there's more kite-making info than you can poke a stick at :-)
Want to know the most convenient way of using it all?
The Big MBK E-book Bundle is a collection of downloads — printable PDF files which provide step-by-step instructions for many kites large and small.
Every kite in every MBK series.
Dowel Sled-Kite Plans
Plan-View Photos
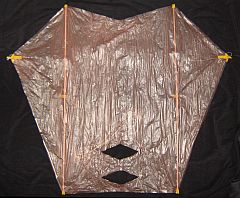 Front
Front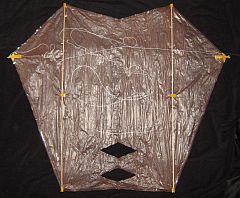 Back
Back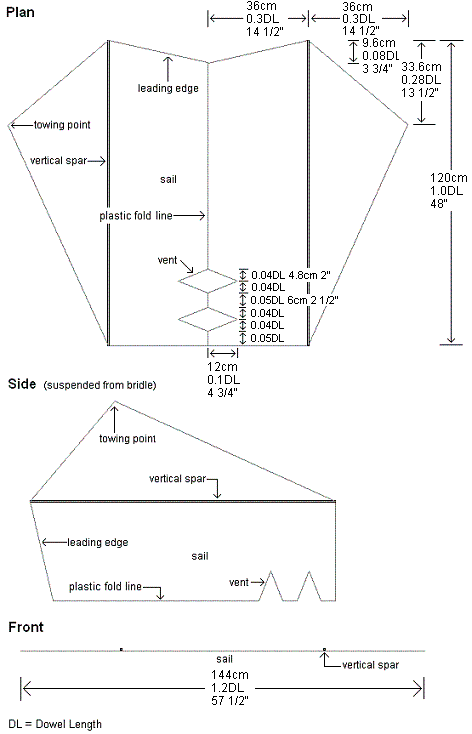
Tips and Hints
- Reinforce the sail edges by adding nearly the full width of clear sticking tape inside the outlines, then trimming back to the outlines. You can save some weight by not putting any tape around the vents, except short pieces at the corners to reinforce. Secure the sail to the spar ends and spar centers using short lengths of electrical insulation tape. I used 120 cm lengths of 5 mm dowel. In the USA, try 48 in. lengths of 3/16 in. dowel.
- At the towing points, add electrical insulation tape to both sides of the plastic, extending out a short distance away from the plastic. Also add a short piece in the vertical direction for extra reinforcement.
- Take a length of bridle line about eight times as long as the kite is high, and tie each end around the towing point tape, crushing it tightly with a slip knot.
- Attach flying line to the bridle with a shiftable knot, to get it exactly center.
- To make the kite more collapse-proof, try taping a 30 cm (12 in.) bamboo BBQ skewer to the back of the sail. Place the skewer on the centerline of the sail, with the upper tip flush with the leading edge.
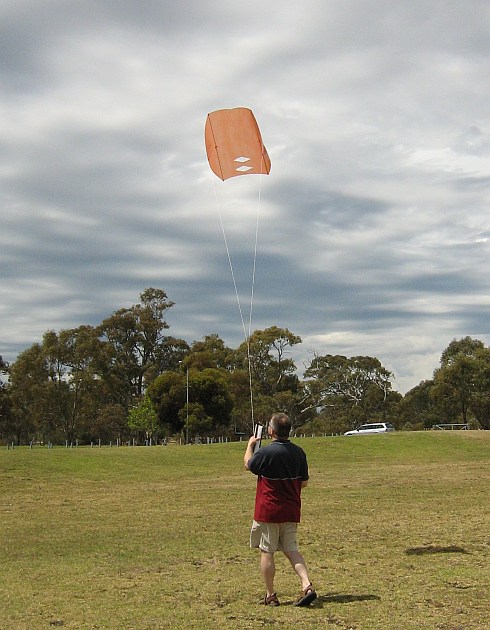 Yours truly testing out the first MBK Dowel Sled
2-Skewer Sled-Kite Plans
Plan-View Photos
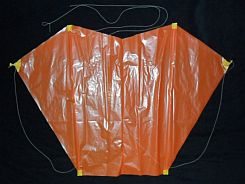 Front
Front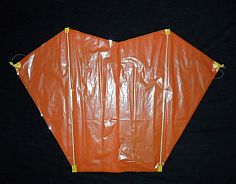 Back
Back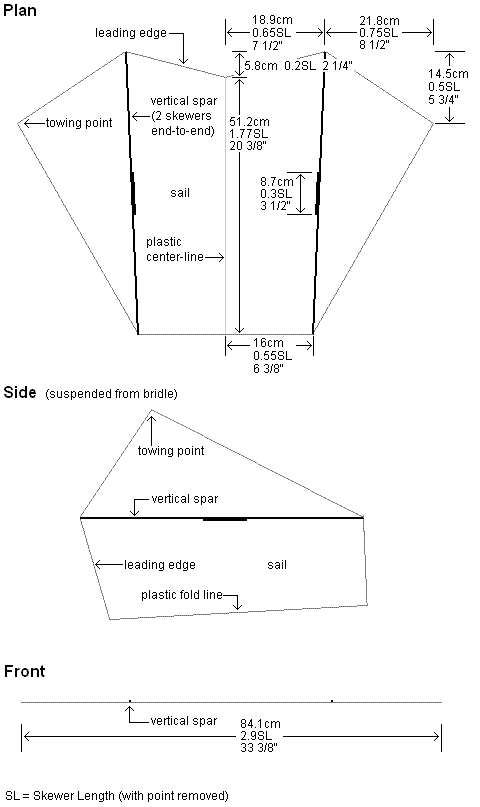
Tips and Hints
- Reinforce the sail edges by adding clear sticking tape over the outlines, then trimming back to the outlines.
- Secure the sail to the spar ends using short lengths of electrical insulation tape. Wrap half the tape around to the other side of the plastic.
- At the towing points, add electrical insulation tape to both sides of the plastic, extending out a short distance away from the plastic.
- Take a length of flying line about six times as long as the kite is high, and tie each end tightly around the towing point tape, crushing it.
- This kite flies fine without tails, although you can add them just for looks! Or maybe use just one short tail on one side, to correct a turning tendency.
- Attach flying line to the bridle with a shiftable knot, to get it exactly center
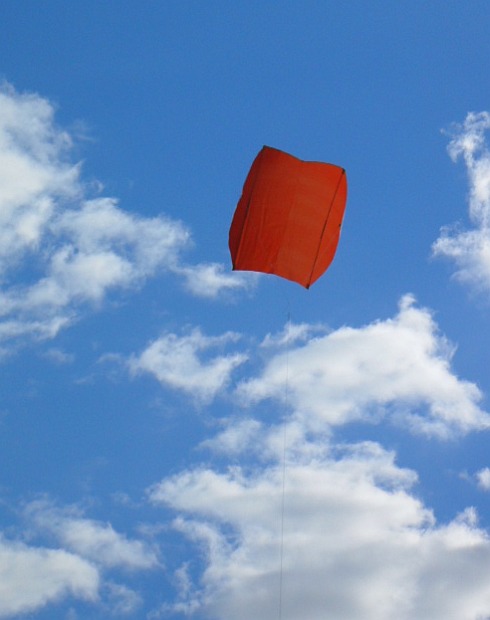 Spars tend to go more parallel in flight
1-Skewer Sled-Kite Plans
Plan-View Photos
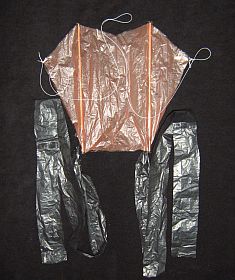 Front
Front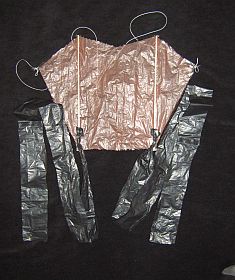 Back
Back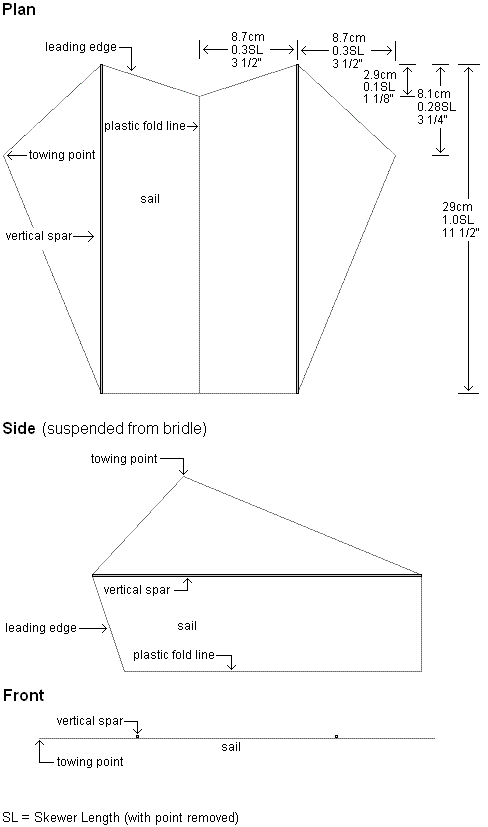
Tips and Hints
- Secure the sail to the spar ends and spar centers using short lengths of clear sticking tape.
- At the towing points, add clear sticking tape to both sides of the plastic, extending out a short distance away from the plastic.
- Take a length of bridle line about six times as long as the kite is high, and tie each end tightly around the towing point tape, crushing it.
- Put a simple loop knot into the exact center of the bridle line. The flying line can then be attached using a Lark's Head knot.
- Each tail can simply be threaded between the bottom end of the vertical spar and the sail, then looped through itself and tightened.
- Adjust the length of one tail to trim out any tendency to hang left or right in flight.
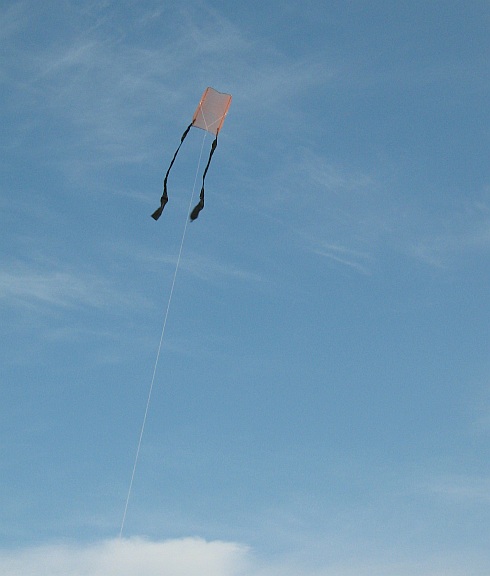 Beautifully steady with those twin tails
The photo below shows the initial versions of all three MBK Sleds in the air together. See if you can identify them! The 1-Skewer Sled is almost invisible due to the time of day and cloud cover, but it is the closest to the camera. It had a clear plastic sail.
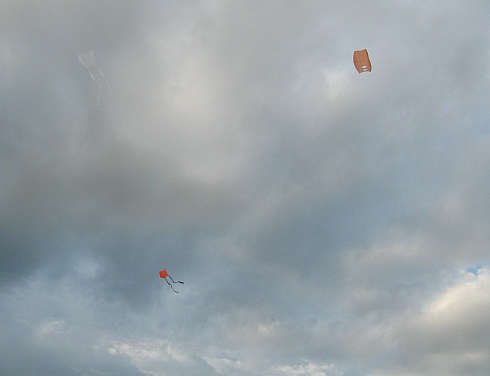 Left to right—1-Skewer Sled, 2-Skewer Sled, Dowel Sled
Out in the Field
Sled-kite stories of my real-life flying experiences are worth checking out!
Illustrated with photos and videos, of course.
I hope one of these sled-kite plans is just right for you!
As mentioned earlier, there's more kite making on this site than you can poke a stick at :-)
Want to know the most convenient way of using it all?
The Big MBK E-book Bundle is a collection of downloads — printable PDF files which provide step-by-step instructions for many kites large and small.
Every kite in every MBK series.
